Setting up Apple's new M1 MacBooks for Machine Learning
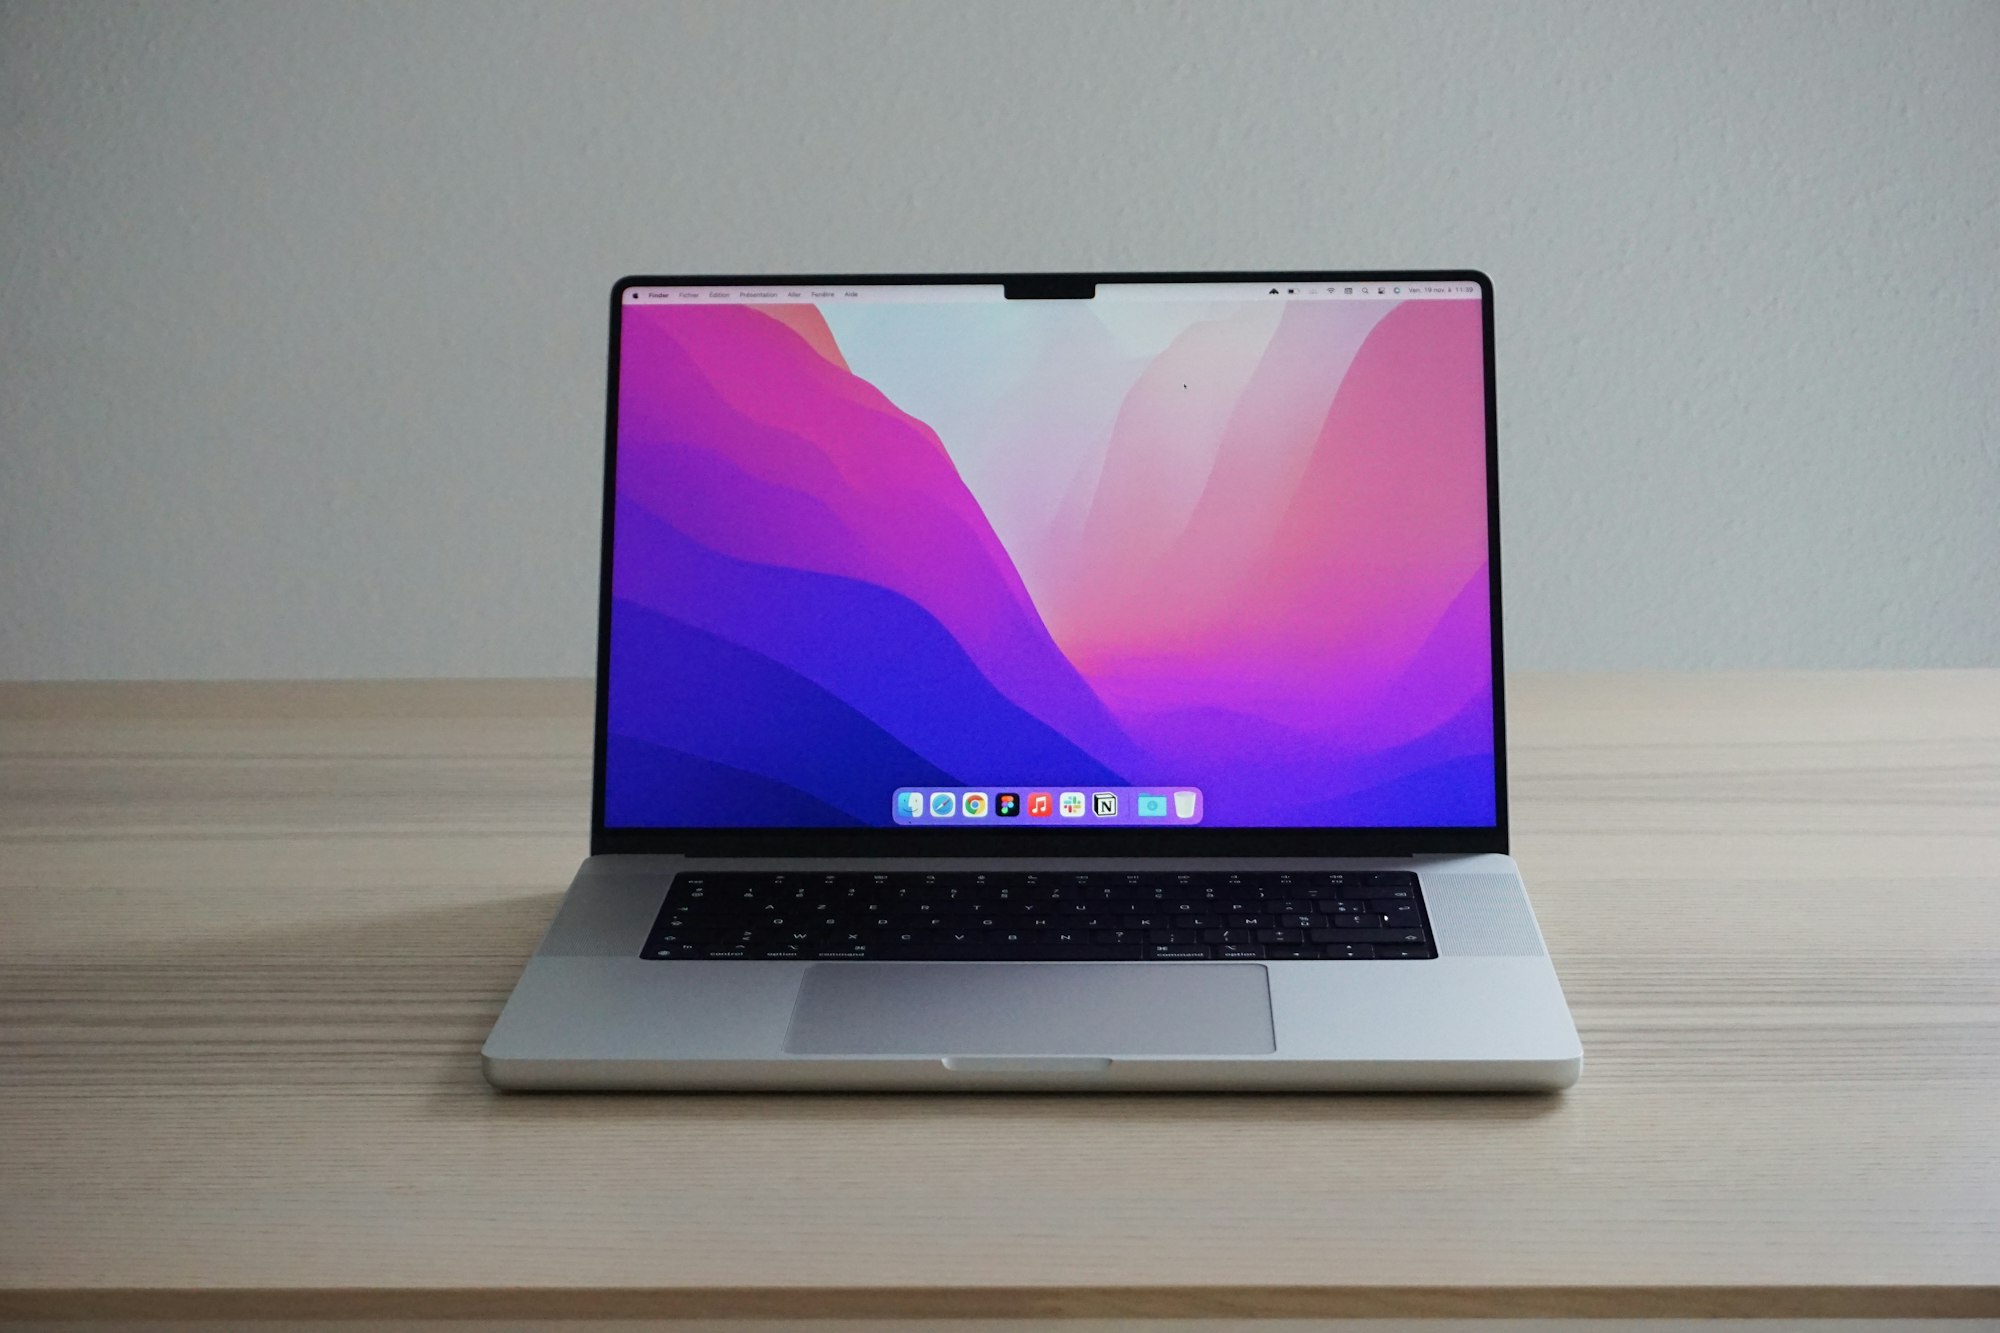
With the newest iteration of its custom M1 chip, the M1 Pro and M1 Max versions, Apple has given the Machine Learning community a powerful tool. To some extent, however, this power can only be unleashed if the system is set up correctly.
From virtual environments to PyCharm
With the newest iteration of its custom M1 chip, the M1 Pro and M1 Max versions, Apple has given the Machine Learning community a powerful tool. To some extent, however, this power can only be unleashed if the system is set up correctly--despite Apple's user-friendliness, this is not a straightforward task.
In a previous post, I connected the process of getting things going with our innate desire to learn. This post serves as a follow-up: It shows how to actually prepare the M1 MacBooks for Machine Learning.
A brief note from my side (March 2022): Nearly half a year after publishing this post's initial version, I still come back here regularly to either update the instructions or get a refresher for myself — especially when setting up TensorFlow… I hope that it serves you equally well.
A typical setup of Machine Learning includes a) using virtual environments, b) installing all packages within them, c) using python, d) analyzing data, and e) training models. We thus begin by setting up virtual environments.
Setting up virtual environments
Virtual environments help us maintain differences between different (python/code) projects. For example, task A might require version 1.0 of a specific program to create fantastic animations. Now, project B also requires this program but needs other features only available from version 2.0 onwards. So, rather than merging the projects' dependencies (program 1.0 -><-program 2.0), we create separate virtual spaces.
We can think of them as boxes, and each project uses its own box. By using this approach, we minimize interference between projects. This, in turn, reduces the number of possible problems. For example, what would happen if we accidentally updated a program from 1.0 to 2.0, but one project still requires features from 1.0? And another project requires features only introduced from 2.0 onwards? Thus, we can save us mental hassle by using virtual spaces.
Anaconda and venv (included with python) are the most frequently used tools to handle this. In this article, I'll use Anaconda, or more specifically, the conda utilities. I do this because installing TensorFlow on the M1 MacBooks currently requires the conda tools for smooth installation. (Advanced users: Try compiling the packages for yourself.)
We'll begin by downloading a small program called Miniforge, which is a minimal installer for Conda. Minimal means that it's not bloated and only the barebone of features is included. This is enough for our use case; we'll manually install all we need.
First, click on this link to download the latest version:
https://github.com/conda-forge/miniforge/releases/latest/download/Miniforge3-MacOSX-arm64.sh
Once the download is finished, open a terminal window (use the spotlight search, type terminal, and click enter.) and type:
This makes the downloaded file executable and enables the next step:
After entering the above line in the terminal, you'll be asked to review the license. Click q to jump to the end and type yes to agree. Next, you'll be asked where you want to install Miniforge. By default, this is
The X is the current version of Miniforge. At the time of writing, this is 3.
Leave this as-is and hit the enter key. If asked if you want to init it, type yes. Afterwards, close the terminal by hitting CMD and q at the same time and re-open it.
You'll be greeted as usual, but the terminal window now prints
(base) <username>@<computer_name> ~ %
The "(base)" part means that you've successfully created and activated your first environment! However, for the remainder of this post, we'll use another environment, which we create by typing:
Type y (for yes) when you are asked whether you want to proceed.
After it has finished, it says, among other things:
# To activate this environment, use
# $ conda activate data-science
which we will do. We thus type
This changes the (base) part to (data-science), which is what we wanted. We now begin installing all packages that we need.
Installing packages into virtual environments
Installing PyTorch
PyTorch and TensorFlow are THE most used frameworks when it comes to anything Machine Learning related. We begin with the one easier to install, PyTorch. We type
to install it and NumPy. NumPy is used in the majority of the frameworks, so we'd have installed it anyway. To quickly check if things went fine, type python. This opens a python console in the terminal. One by one, copy the following lines, each followed by typing enter:
The output of this program will be a 5-by-3 matrix filled with random numbers.
Installing TensorFlow
After this easy installation, we'll now attend to installing TensorFlow. In the previous post, I said that this was (and still is) a hassle. You'll now see why this is so, especially compared to the seamless setup of PyTorch.
First, we type
This command installs all the dependencies that we need before installing TensorFlow. If it asks you to proceed, type y. Don't worry if there is no such prompt; things are fine.
The next command we'll enter is
This command installs TensorFlow on the device. Be aware that the download might take some time; it's about 200 MB in size.
Lastly, we will install a package that accelerates the computation on M1 Mac computers:
Because the process is cumbersome and error-prone, I usually execute a small script to check whether TensorFlow works correctly. You can find the code below, which I have taken from the documentation:
Copy the code, save it as tf_installation_test.py on the desktop. Then, in the terminal still open, run
Don't forget to replace <your_username> with your username. It'll take a few seconds, then the output begins. After five epochs, the model is trained up to ~99% test accuracy.
After successfully setting up both PyTorch and TensorFlow, we can now start coding in python.
Setting up PyCharm
Personally, I find that Pycharm is an excellent IDE with great features. I'll guide you through "connecting" our "data-science" conda environment with PyCharm.
If you have not already, head to the download page. The Community edition is enough. Make sure that you select ".dmg (Apple Silicon) in the drop-down menu. After the download has finished, install it like you install any other macOS application.
After you launch PyCharm, a screen will show you all your projects. At the top, click "New Project":
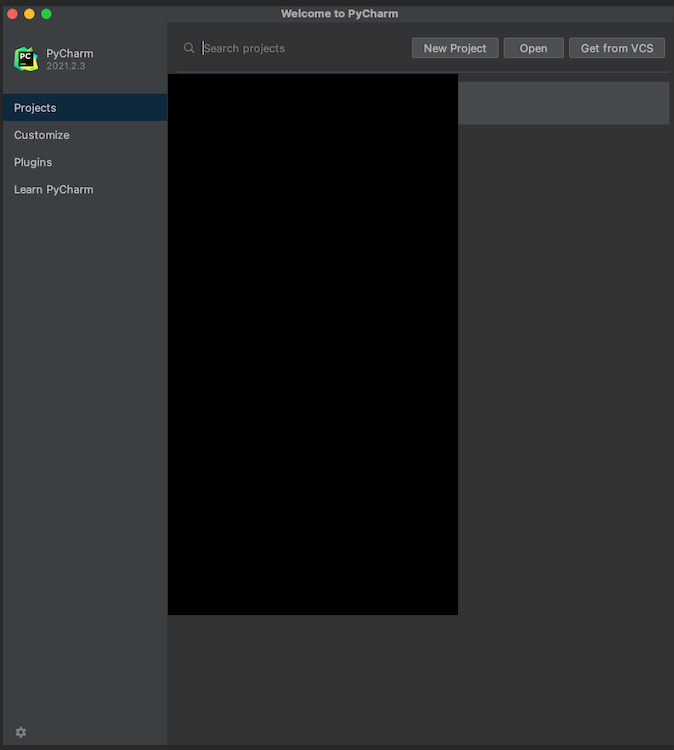
Afterwards, a new screen will show. By default, the type of the new project is "Pure Python", leave this as-is. Click on the small arrow next to "Python Interpreter", which will show a more detailed settings page. On this page, tick "Previously configured interpreter." If you can not find our "data-science" environment in the drop-down list, then click on the three dots.

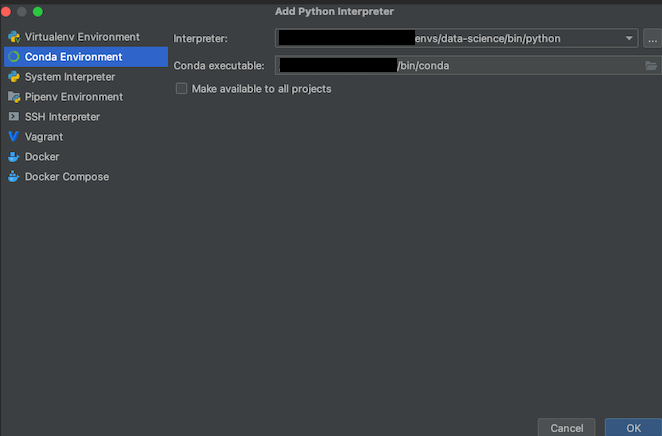
This opens yet another screen. Click "Conda Environment" on the left side, and navigate the "Interpreter" path to where we saved our environment. This is /Users/<your_username>/miniforge3/envs/data-science/bin/python. Similar, the default path for the "Conda executable" field is /Users/<your_username>/miniforge3/bin/conda. Click "OK" once you're done.
Finally, select that you want to create a main.py script, which is helpful for demo purposes. Afterwards, click "Create".
On the first project opening and then always after installing new packages, PyCharm creates and updates and index. After this indexing has finished, click on the green triangle that appeared in line 13. This will run the script and print
"Hi, PyCharm"
onto the console.
With the virtual environment setup (a), necessary packages installed (b), and being able to code in python (c), you can now dive into analyzing data and training models. As this is different for everybody, I leave it to you.